The Regulatory Framework of Culinary Imports
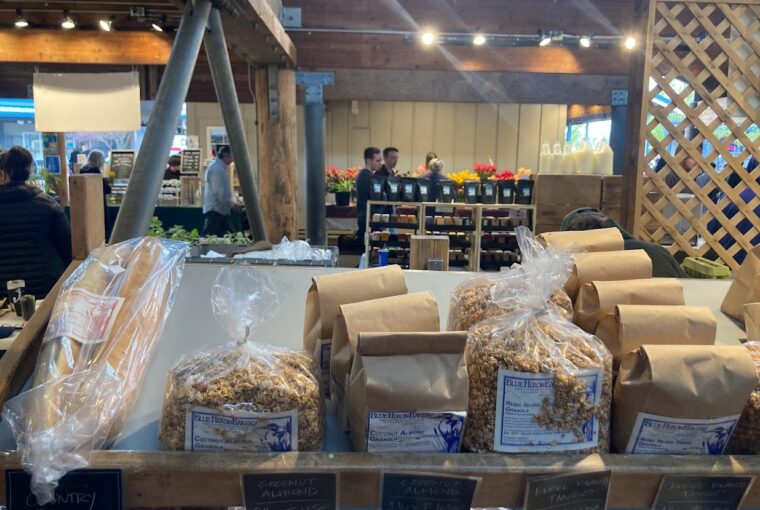
For the intentional traveler, a local market often serves as the most authentic “museum” of a culture. Whether it is a specific spice blend from a distant mountain region, a jar of artisanal honey, or a vacuum-sealed delicacy, these edible souvenirs allow you to extend the sensory experience of a trip long after you return home. However, the logistics of transporting food across borders involves a complex intersection of agricultural customs regulations and airport security screening protocols. Before you purchase that jar of local preserves or a bottle of regional oil, you must treat your culinary acquisitions with the same planning rigor as your flight itinerary.
Bringing food home is not simply a matter of packing; it is a regulatory decision. According to guidance from U.S. Customs and Border Protection, travelers must be prepared to declare all agricultural products upon arrival. Failure to do so can result in the confiscation of goods, potential fines, or significant delays at the border. The primary rule for the traveler is to research the specific admissibility of food items from your destination before you depart, as regulations can shift based on origin and current agricultural safety concerns. It is not enough to assume that because an item is sold in a supermarket or airport shop, it is cleared for international transit. As outlined in our guide on Bringing Food and Souvenirs Home: A Customs Planning Guide, the most effective strategy is to categorize your potential purchases by their agricultural risk. Fresh produce, meat products, and certain dairy items are frequently restricted or entirely prohibited to prevent the spread of pests and diseases. By prioritizing shelf-stable, processed, or dry goods, you reduce the likelihood of complications at customs checkpoints.
Mastering the 3-1-1 Rule for Culinary Imports
The most common logistical failure in food-focused travel is the confusion between carry-on and checked luggage regarding liquids, aerosols, and gels. The Transportation Security Administration maintains a strict “3-1-1” rule for carry-on bags: all liquids, gels, and aerosols must be 3.4 ounces (100 mL) or less. This rule applies to many common food souvenirs, including sauces, preserves, jams, oils, and even items like creamy cheeses or spreads.
If your culinary souvenir can be spilled, spread, sprayed, pumped, or poured, and the container exceeds 3.4 ounces, it must be placed in your checked luggage. Travelers often assume that because an item is food, it is exempt from these rules, but airport security treats these items based on their physical state, not their culinary purpose. To avoid the frustration of discarding items at the security checkpoint, plan your purchases with your packing strategy in mind:
- Check the Label: Before buying, check the volume of the container. If it exceeds 3.4 ounces, commit to checking a bag.
- Pack for Protection: Checked baggage is subject to rougher handling. Use bubble wrap, padded packing cubes, or specialized wine sleeves for glass jars.
- Consider the “Snow Globe” Rule: Just as with holiday items like snow globes, any food item that is suspended in liquid must be checked.
- Declare Everything: When you arrive at customs, be ready to present your food items. Transparency with officers prevents delays.
If you are traveling with traditional, non-liquid items, ensure they are easily accessible in your carry-on luggage for secondary screening if necessary. Keeping your souvenirs organized and separate from your clothing allows you to quickly unpack and repack during a random inspection, maintaining the efficiency of your transit day.
Respectful Acquisition and Transit Strategy
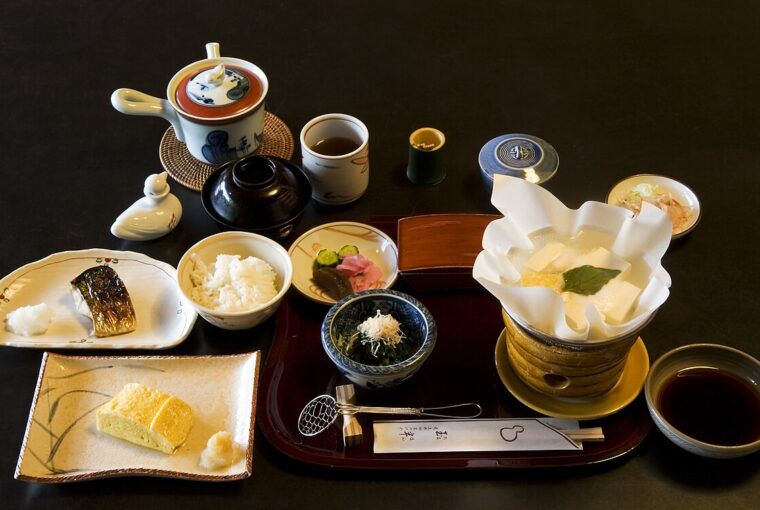
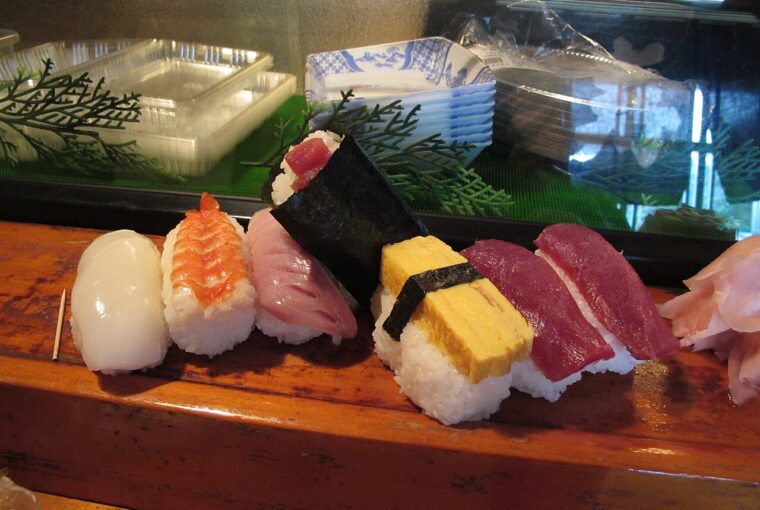
Beyond the logistics of transit, the act of bringing food home is an extension of the travel experience. As noted in guidance on Japanese food etiquette, the act of eating and the appreciation of ingredients is a reflection of “omotenashi,” a mentality of hospitality and respect. This reverence for the ingredient—whether it is the broth in a kaiseki meal or the seasonal produce at a local inn—is a mindset that should accompany you when you purchase food to take home. When you shop for food at a local market, you are participating in a local economy. Selecting items that are shelf-stable and culturally significant—such as dried spices, teas, or vacuum-sealed dry goods—often makes for a smoother transit experience than attempting to transport fresh produce.
Understanding local dining norms also helps you identify which items are worth the effort of transportation. As explored in our Restaurant Etiquette Around the World: A Practical Traveler’s Guide, the way a culture presents and values its food can guide your shopping decisions. If you are unsure about the nature of a product, prioritize items that are clearly labeled and sealed, which often provides customs officials with the necessary information to clear your items quickly. Avoid purchasing loose, unpackaged, or unlabelled food items, as these are the most likely to be flagged for inspection or seizure.
Checklist for the Culinary Traveler
- Pre-Trip Research: Visit the customs website for your destination and your home country to identify prohibited agricultural items.
- The 3.4-Ounce Audit: During your trip, categorize every food purchase as “Carry-on Safe” (dry goods, solid chocolates) or “Checked Only” (oils, jams, sauces).
- Packaging Security: If checking a bag, ensure all liquid-based food items are sealed in leak-proof bags before being wrapped in protective layers.
- Customs Declaration: Always err on the side of caution. If you are unsure if an item is allowed, declare it to the customs officer upon arrival.
- Arrival Day Readiness: Keep your food items consolidated in your luggage so they can be easily presented if a customs officer asks to inspect your bags.
Note: This research-based guide was prepared with AI assistance. No hands-on testing or travel visits were conducted to verify current airport security or customs lines. Always check official government websites for the most up-to-date regulations before your departure date.
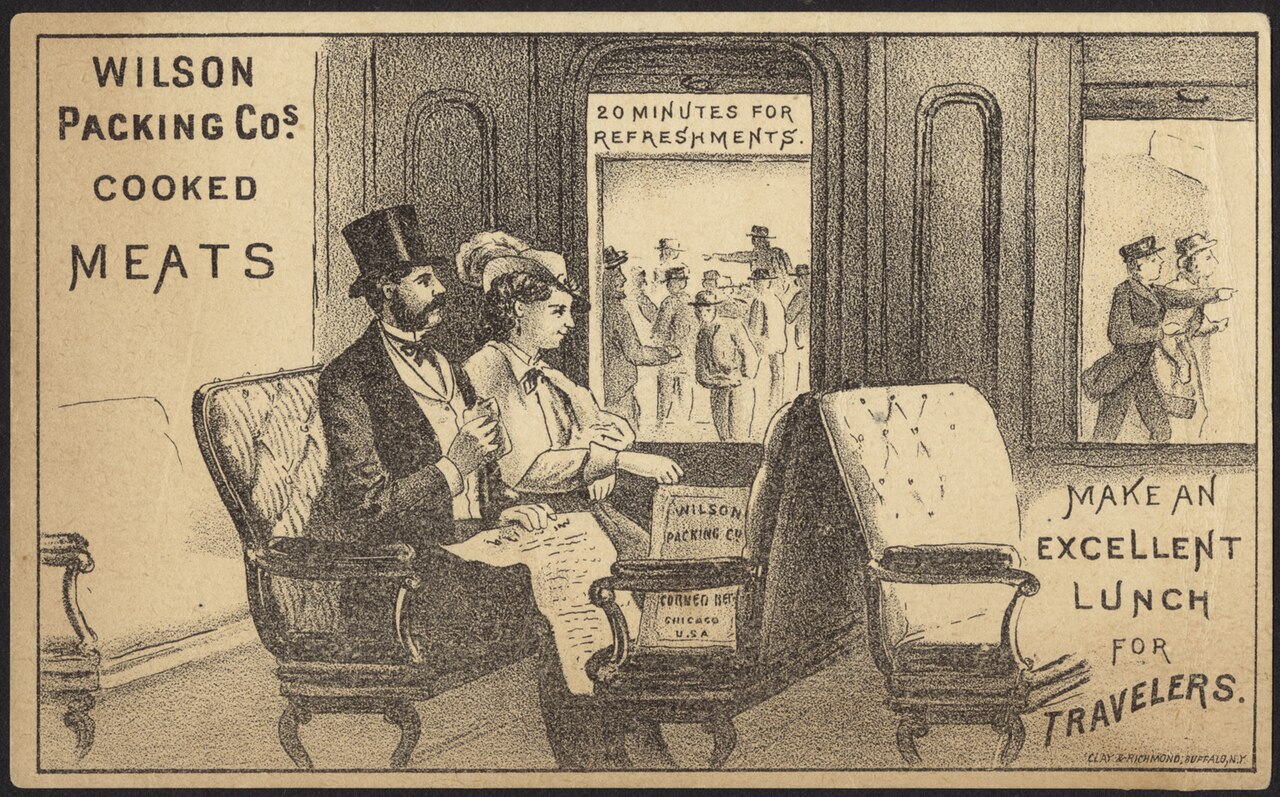
Representative photo. This vintage illustration highlights the long-standing intersection of travel, food, and the practicalities of packing items for transit, mirroring the article’s focus on managing culinary souvenirs. Photo: Boston Public Library / Wikimedia Commons · CC BY 2.0. Resized for display. Sources checked October 31, 2026.
Advertisement · From our publishing familyDiscover something new ↗