Note: This is a research-based guide prepared with AI assistance; no visit or hands-on test was conducted.
For the traveler preparing for a cruise in late 2026, the logistics of the journey often begin long before boarding the ship. Whether you are flying to a port or driving, the intersection of air transit security and maritime documentation requires a proactive, audit-based approach. By synchronizing your preparation with the specific regulations of the Transportation Security Administration (TSA) and U.S. Customs and Border Protection (CBP), you can mitigate common transit friction points before they disrupt your itinerary.
The Documentation Audit: Understanding WHTI Compliance
A primary point of confusion for many cruise passengers involves the Western Hemisphere Travel Initiative (WHTI). While U.S. citizens on closed-loop cruises—voyages that begin and end at the same U.S. port—are permitted to enter the United States with a birth certificate and government-issued photo ID, this is a narrow exception, not a universal rule. As noted in the Western Hemisphere Travel Initiative guidelines (checked 2026-11-04), travelers should verify if the specific countries their cruise ship visits require a passport for entry, regardless of the cruise line’s policies. Relying on the closed-loop exception can be risky; if an emergency requires you to fly home from a foreign port, you will likely be unable to board a commercial flight without a valid passport. Always research the entry requirements for every country on your itinerary to ensure compliance.
Pre-Departure Documentation Checklist:
- Verify Passport Validity: Ensure your passport has at least six months of validity remaining beyond your travel dates.
- Check Port-of-Call Requirements: Confirm entry requirements for every country on your itinerary. A passport is often required for international entry, even if the cruise line permits boarding with a birth certificate.
- Consolidate Documents: Keep a digital and physical copy of your cruise booking invoice, which lists your specific room type and included amenities, as recommended in our guide to Cruising Beyond Borders: A Strategic Document Checklist.
The Security Pivot: Navigating Airport Transit
For passengers flying to their departure port, the transit experience is governed by TSA regulations that differ significantly from cruise ship policies. A common error is assuming that items allowed on the ship are permitted in carry-on luggage. According to the TSA Travel Tips (checked 2026-11-04), all liquids, aerosols, and gels in carry-on bags must be 3.4 ounces (100 mL) or less. If you are packing specialty items like local sauces or wine purchased for the trip, these must be checked if they exceed the 3.4-ounce limit. If you can spill it, spread it, spray it, pump it, or pour it, and it is larger than 3.4 ounces, it should go in a checked bag.
Medication handling is another critical area for the pre-cruise audit. Travelers are permitted to bring medication in liquid form over 3.4 ounces in carry-on bags, but you must notify the TSA officer at the start of the screening process. This is a procedural step that should be part of your transit plan, not an afterthought. For further context on managing these transitions, see our analysis on Navigating Air and Cruise Transit Regulations.
Airport Security Readiness Checklist:
- Empty Bag Audit: Start packing with an empty bag to ensure no prohibited items remain from previous trips.
- Medication Protocol: Place all essential medications in your carry-on luggage. If they are liquids over 3.4 ounces, be prepared to declare them to the TSA officer immediately.
- Gift Strategy: If you are traveling with gifts, use gift bags instead of wrapped boxes. TSA officers may need to inspect the contents, and unwrapping a gift is far less damaging to your transit experience than having a box torn open.
Onboard Logistics: Managing Your Reservation
Once you have secured your transit and documentation, the final phase of your logistics framework involves managing your onboard account. Major cruise lines, such as Celebrity and Royal Caribbean, emphasize the use of a guest account portal to self-service your reservation. This is not merely for convenience; it is a critical step in ensuring your preferences—such as dining, beverage packages, and shore excursions—are correctly linked to your booking. Per the Celebrity Cruise FAQs (checked 2026-11-04), you should create a guest account to view your balance, make payments, and manage guest information before departure. Similarly, Royal Caribbean’s guidance (checked 2026-11-04) suggests using the cruise line’s app or website to manage your check-in, embarkation, and transportation details well before your arrival at the pier.
The SeaPass card (or its equivalent) serves as your room key, ID, and onboard charge card. It is typically waiting in your stateroom upon arrival. However, your ability to access special areas, such as the Retreat, Concierge, or specific dining venues, depends on your booking status being correctly reflected in the system. If you cannot find your cruise reservation in your account, use the “Add Another Cruise” feature with your reservation number immediately, rather than waiting until you arrive at the port terminal.
Onboard Account Management Checklist:
- Verify Amenities: Log in to your cruise line’s portal and confirm that your booking invoice matches the amenities you purchased (e.g., beverage packages, Wi-Fi).
- Update Guest Information: Ensure all guest details are current in the system to expedite the check-in process.
- Pre-Book Add-ons: Use the “Plan My Cruise” or “Manage” sections of your guest account to schedule spa services and specialty dining before you board, as these often have limited capacity.
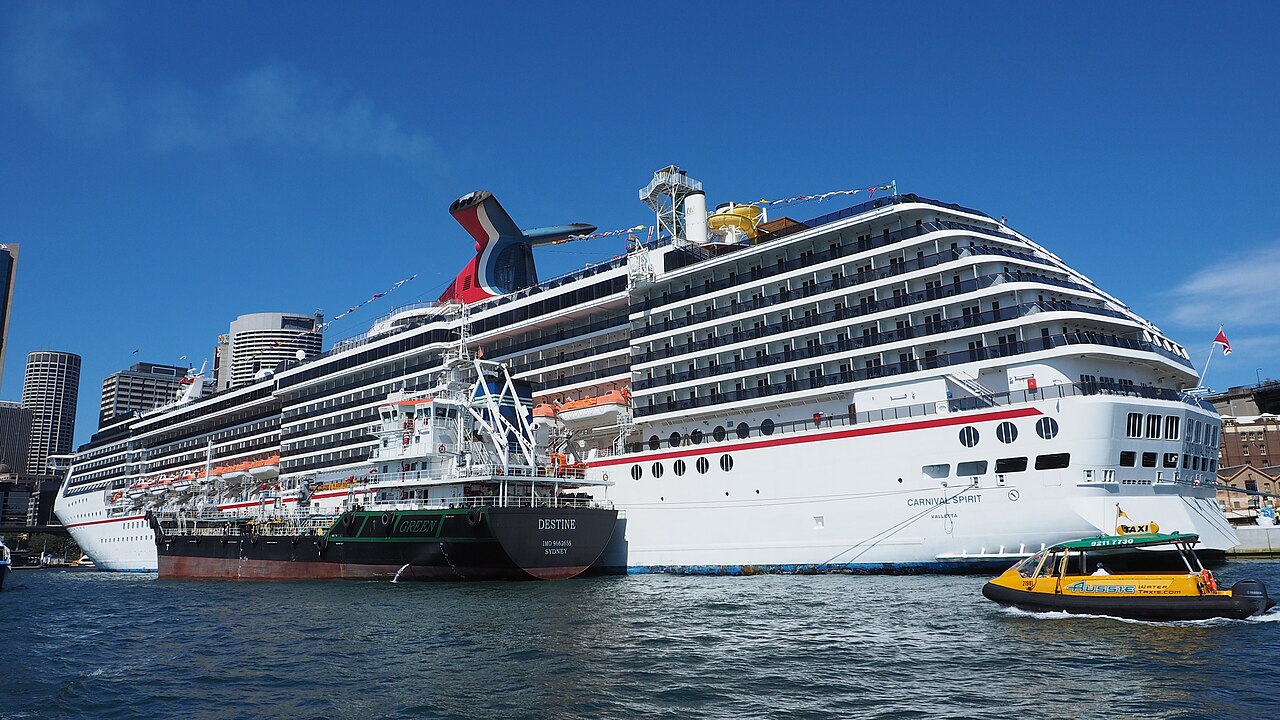
Representative photo showing a cruise ship at a passenger terminal, highlighting the logistics of the embarkation process discussed in the article. Photo: Nick-D / Wikimedia Commons · CC BY-SA 4.0. Resized for display. Sources checked November 4, 2026.
Advertisement · From our publishing familyDiscover something new ↗