Note: This is a research-based guide prepared with AI assistance; no visit or hands-on test was conducted. Checked on October 25, 2026. Sources include ADA.gov, Amtrak, TSA, and the National Park Service.
Accessible travel planning requires more than simply checking a box for a wheelchair-accessible room. It demands a proactive strategy that bridges the gap between federal regulations, transit logistics, and the unique physical realities of your destination. By understanding the frameworks provided by the Americans with Disabilities Act (ADA), the Transportation Security Administration (TSA), and major transit providers, travelers can build itineraries that prioritize both independence and peace of mind.
The Regulatory Framework: Understanding Your Rights
The foundation of accessible travel in the United States lies in the Americans with Disabilities Act (ADA). As outlined by the ADA.gov resource on businesses open to the public, nearly all businesses serving the public—including hotels, restaurants, and private transit—must provide equal opportunity for access. This does not mean every building is perfectly accessible, but it does mean that businesses are required to make “reasonable modifications” to policies, practices, and procedures to accommodate individuals with disabilities.
For the traveler, this means that requesting an exception to a policy is a recognized right, not a favor. For example, if a restaurant has a “no pets” policy, they must modify that policy to allow a service animal. If a venue requires users to call the box office for accessible tickets, they are encouraged to make those accessible seats available for online purchase. When planning, do not assume a business is inaccessible just because it is old or small; instead, focus on the standard of “readily achievable” barrier removal. If you encounter a barrier, understanding that the business has a legal obligation to provide access can help you advocate for the necessary modifications before you arrive.
Seamless Transitions: Rail and Security Logistics
The most significant friction points in any journey are the transitions—moving from a taxi to a train, or from the terminal entrance to the security checkpoint. These moments require specific, pre-trip research to ensure continuity of care and mobility.
When traveling by rail, it is essential to distinguish between different types of accessible space. According to Amtrak’s accessible travel services, there is a distinct difference between “accessible seats” (which offer extra room for transferring from a wheelchair or walker) and “wheelchair spaces” (where a passenger can park and remain in their occupied wheelchair). Never assume that a seat with extra legroom is a wheelchair space. Reservations for these specific areas are often required, and they should be prioritized at the time of booking. Furthermore, travelers can utilize accessible connection bus services where coaches are lift-equipped.
At the airport, the security checkpoint can be navigated with similar precision. The TSA provides specific resources for travelers with disabilities and medical conditions via TSA Travel Tips. It is not necessary to present your medication to an officer unless it is in liquid form and exceeds 3.4 ounces. If you have an insulin pump or other medical device attached to your body, inform the officer before screening begins. You are entitled to request private screening at any time, and you may use a TSA notification card to discreetly communicate your needs. For further preparation, refer to our internal guides on accessible itinerary planning and the specific logistics of flying with mobility equipment.
Building an Accessible Itinerary: A Strategic Checklist
When curating your trip, the destination itself requires a deep dive into specific site data. The National Park Service (NPS) is a primary example of how accessibility is managed at a granular level. As noted by the National Park Service accessibility page, there is no single “accessible” standard for all parks; each site manages its own accessibility section. Before finalizing your dates, visit the specific park’s website to determine if wheelchairs are available to borrow, the status of accessible camping, and the specific terrain conditions.
Use the following checklist to ensure your itinerary remains flexible and robust:
- Verify the Transit Chain: If you are using connecting bus services, confirm that the specific coach is lift-equipped. Do not rely on general “accessible” labels; ask for confirmation of the equipment type.
- Secure the Access Pass: If visiting federal lands in the U.S., ensure you have the Access Pass, a free lifetime pass for U.S. citizens or permanent residents with a medically determined permanent disability. This provides free entrance to many federal sites.
- Document Your Needs: Keep a digital or physical copy of your medical device information and any necessary documentation for service animals.
- Plan for the “After-Arrival”: Treat your arrival day as a real activity day. Use the time to locate the accessible entrance of your hotel or the nearest accessible transit stop before you are tired or in a hurry.
- Establish a Backup Plan: Know who to contact if a planned accommodation fails. For federal sites, this might mean knowing the specific park’s contact information, while for private businesses, it means having the contact details for the manager on duty or the local transit authority’s accessibility office.
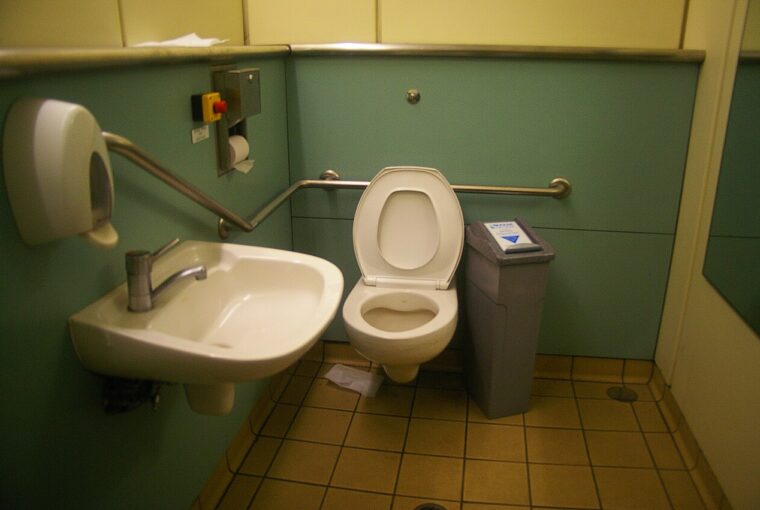
Representative photo showing a traveler using a wheelchair at a transit hub, illustrating the importance of identifying accessible infrastructure like elevators when planning a trip. Photo: mailer_diablo / Wikimedia Commons · CC BY-SA 3.0. Resized for display. Sources checked October 24, 2026.
Advertisement · From our publishing familyDiscover something new ↗